TannieSpace

geekery, drawing and then some

Posts about paint

Using ink-samples to paint.

Using ink-samples to paint. I've used my ink-samples to paint for a while now and I thought I'd share my 'trick'. Not really a trick, but it makes it easy to use them.

Using ink-samples to paint. 
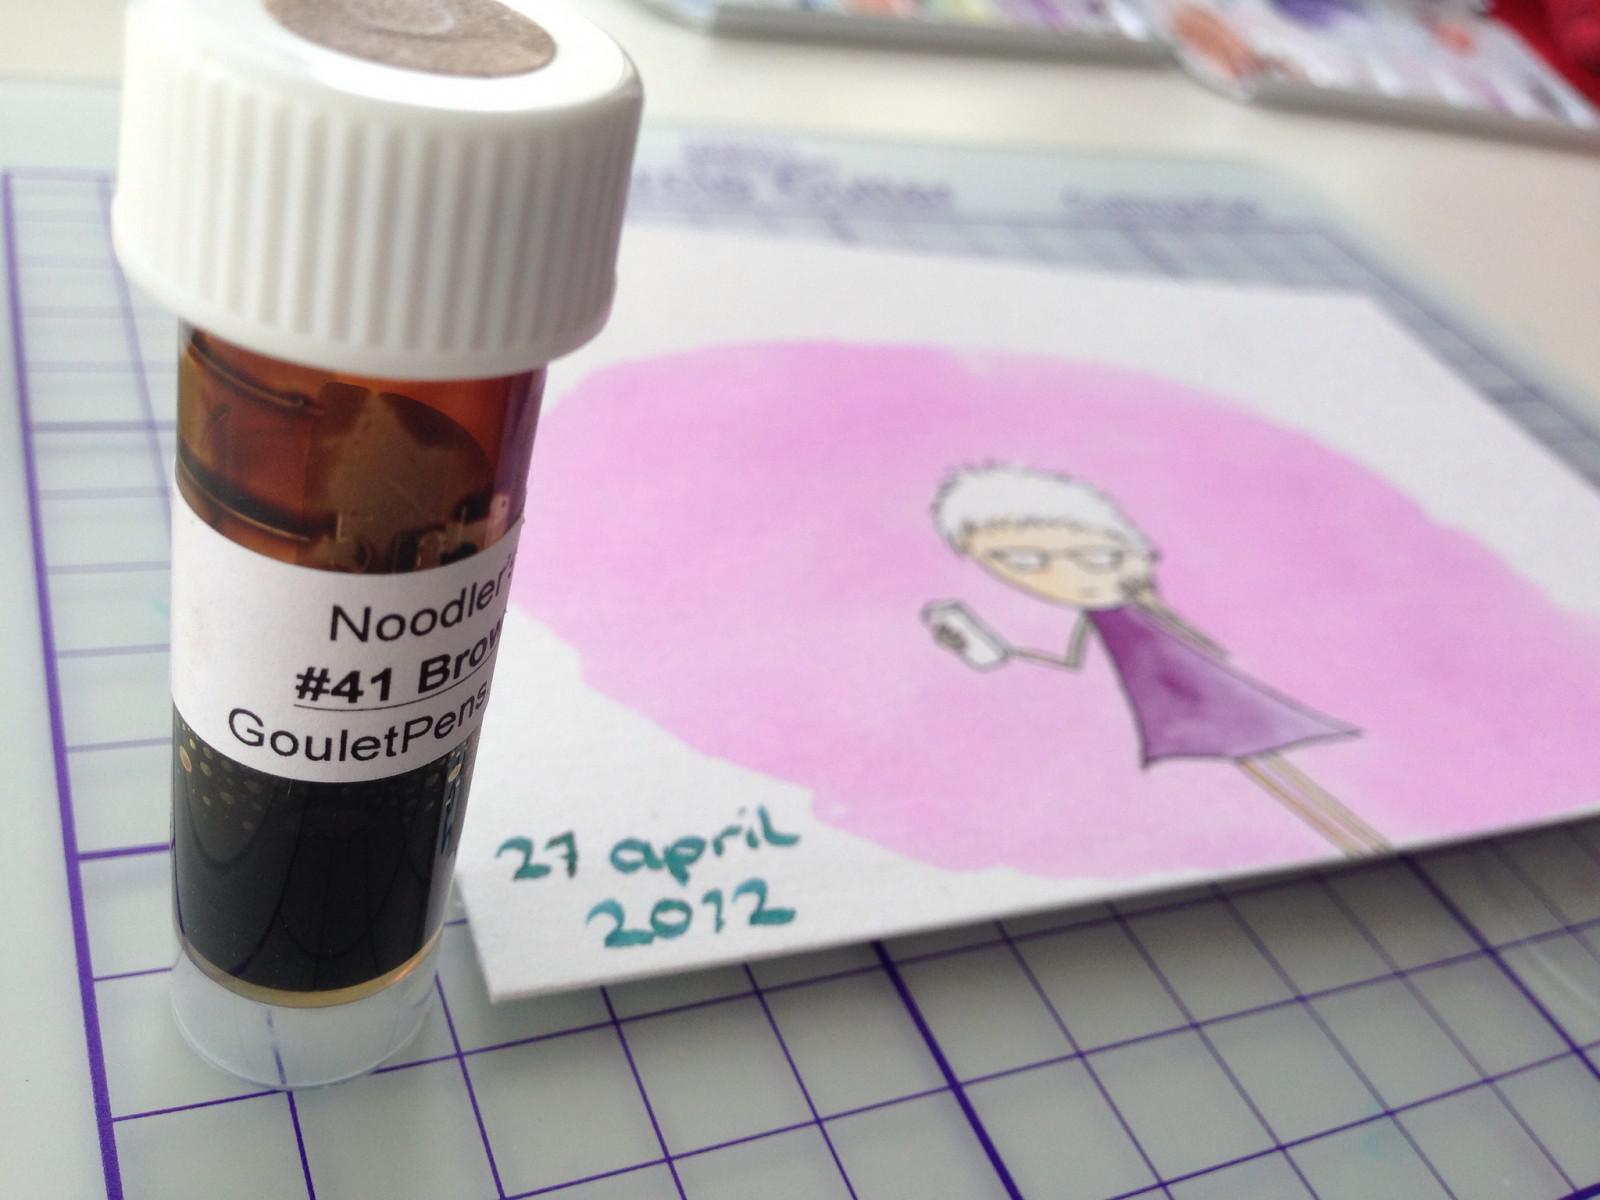
Before I open the vial, I shake it, so inkdrops stick to the cap.

Using ink-samples to paint. 
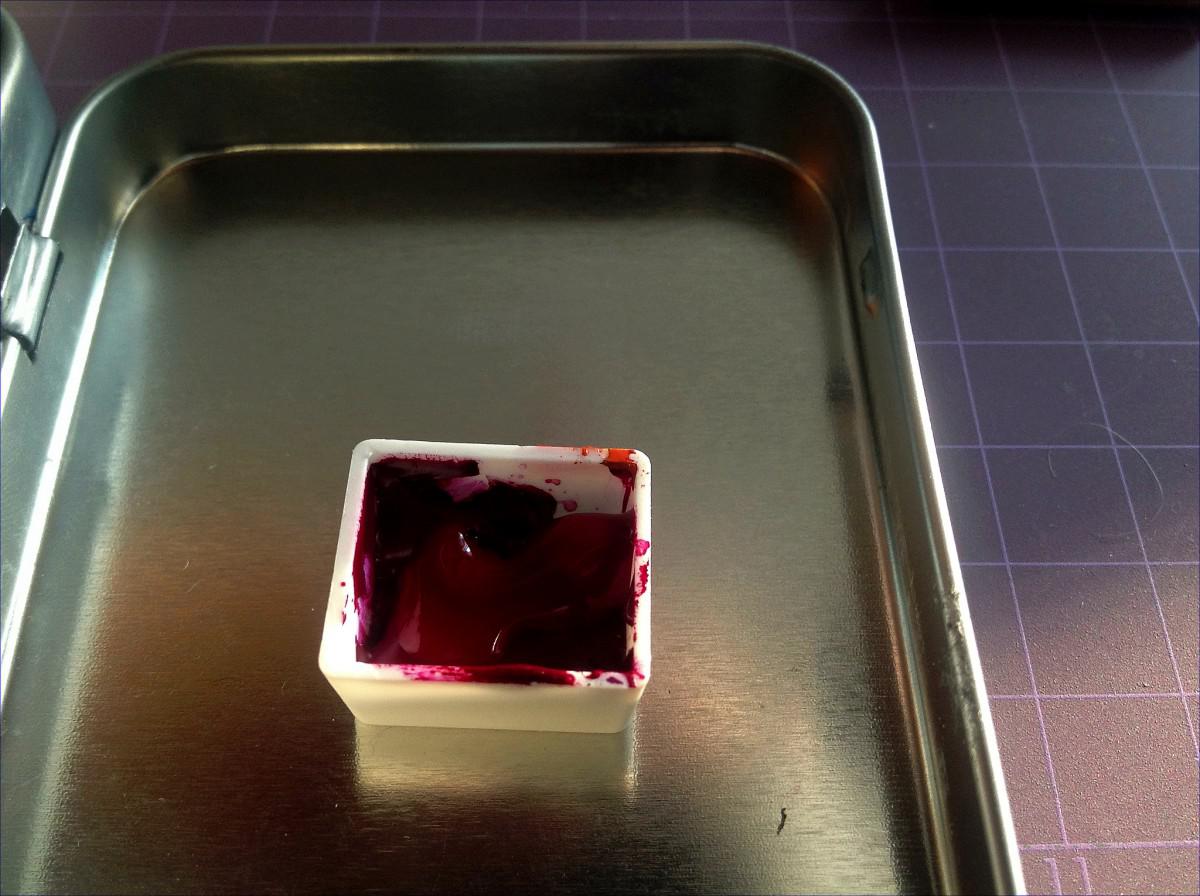
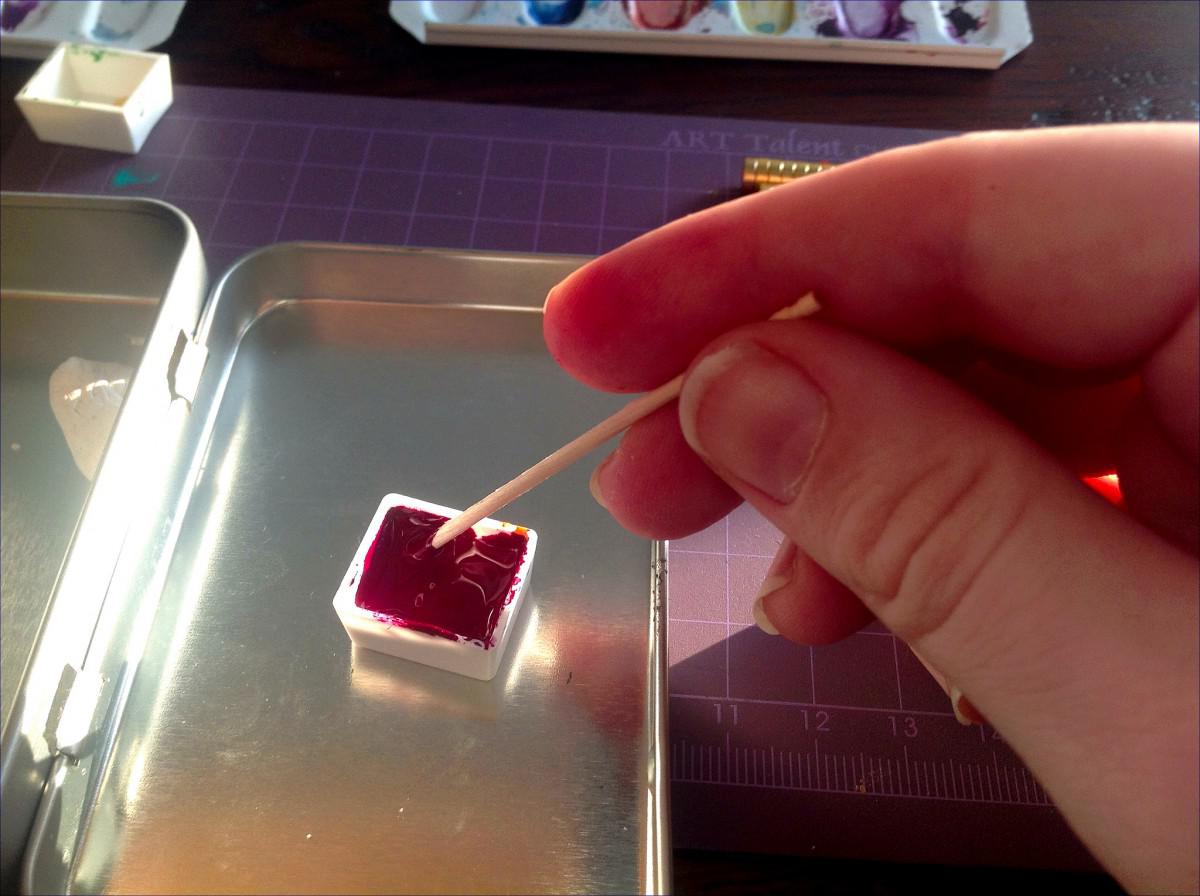
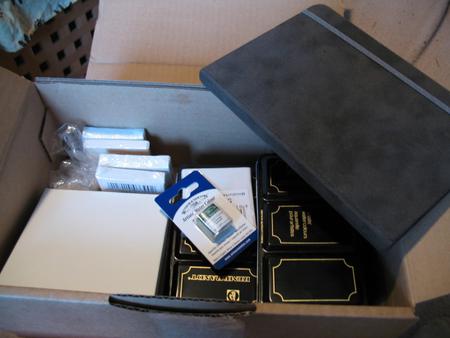
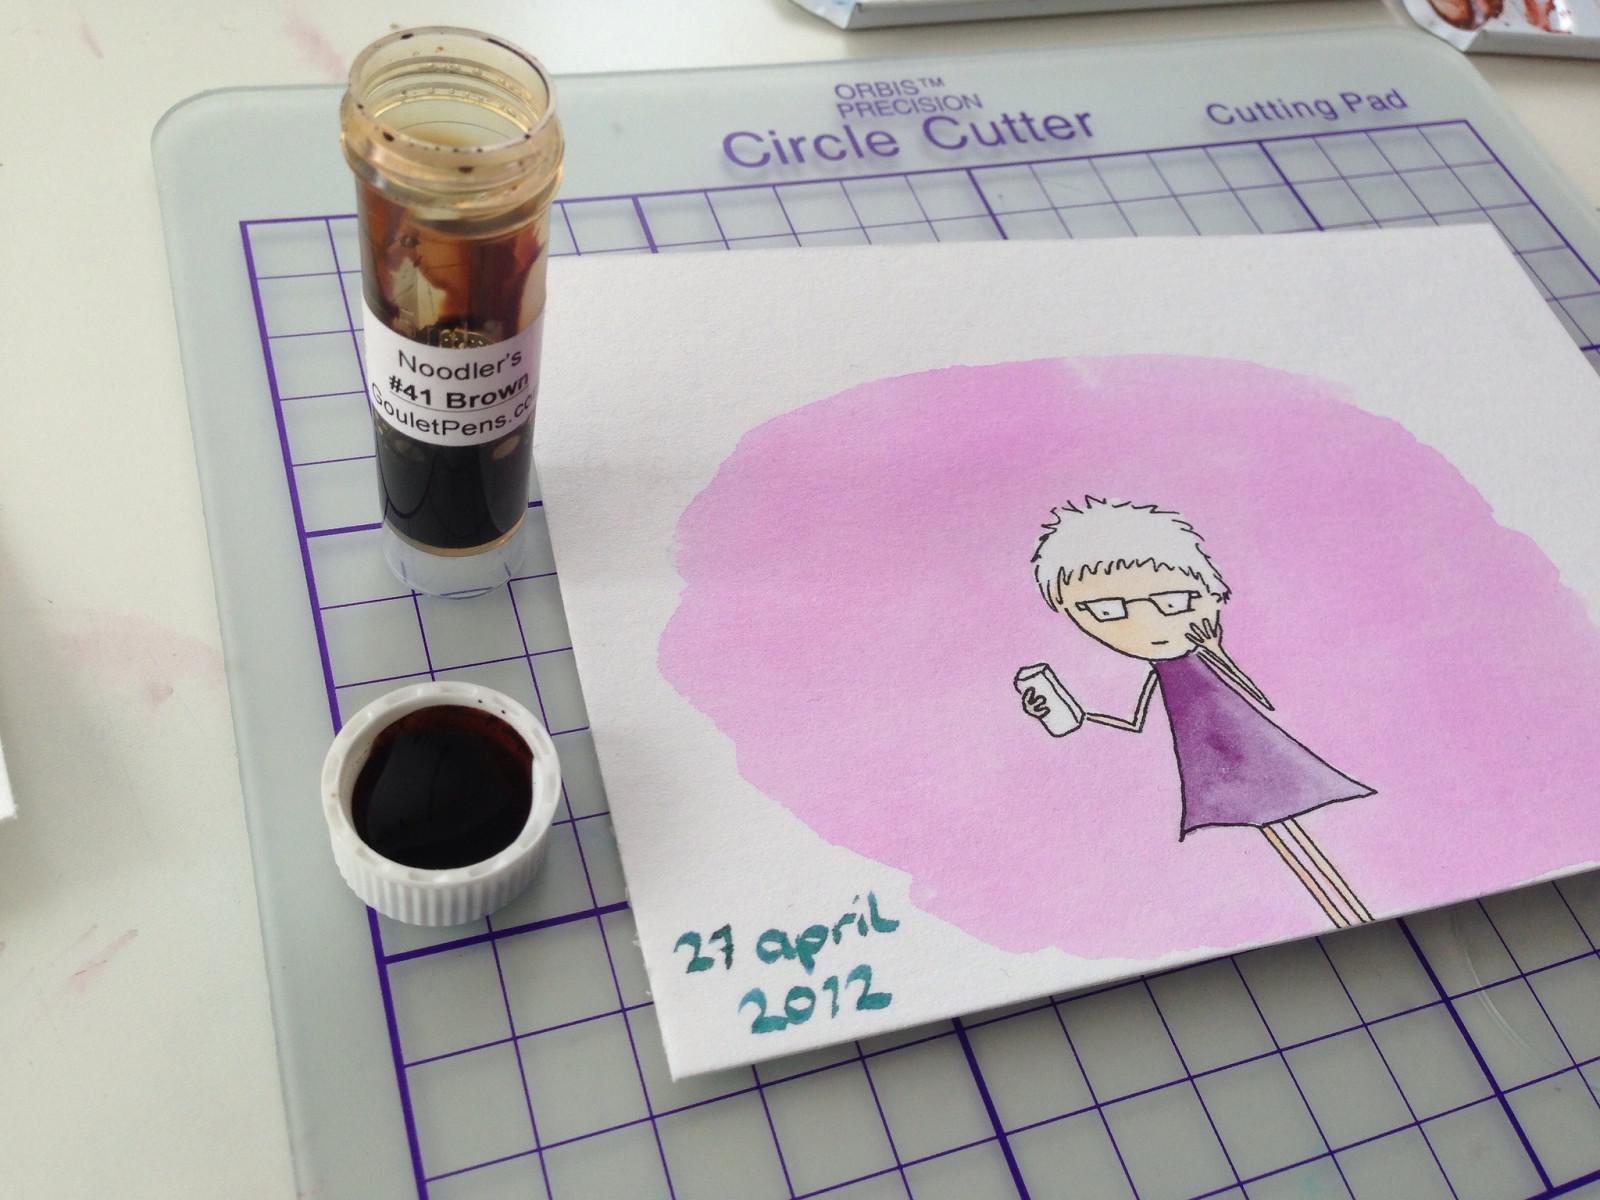
When I take the cap off, I simply add a few drops of water (or more, depending on the dilution I want). I use a temporary cap to keep the vial safe (I speak from experience cough).

Using ink-samples to paint. 
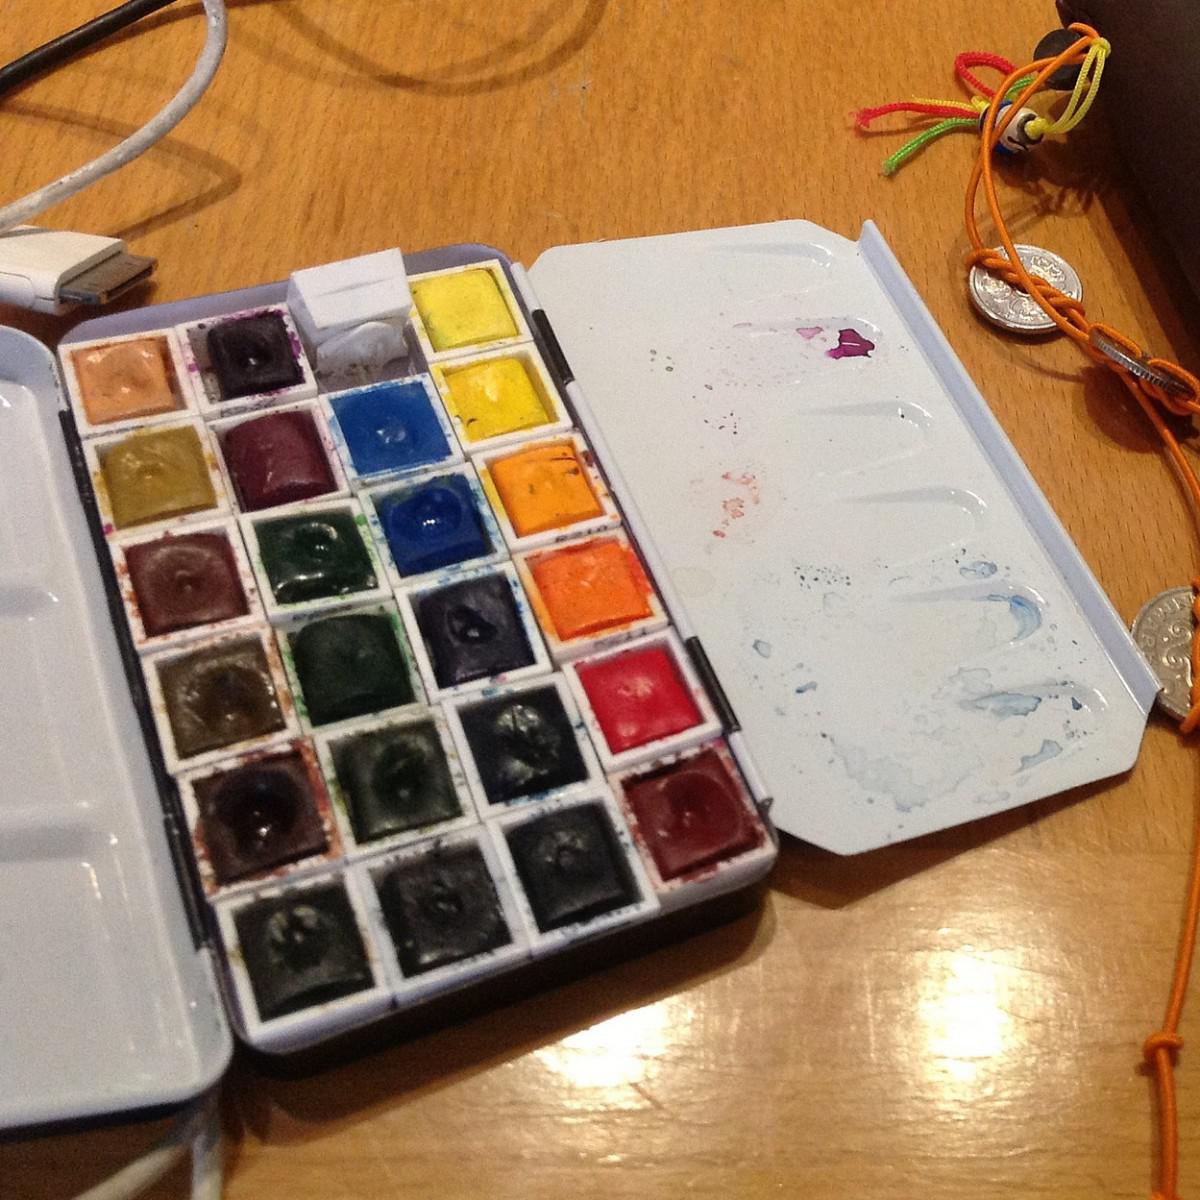
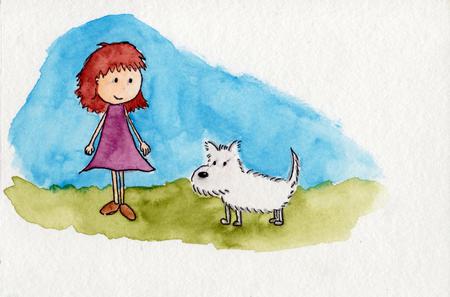
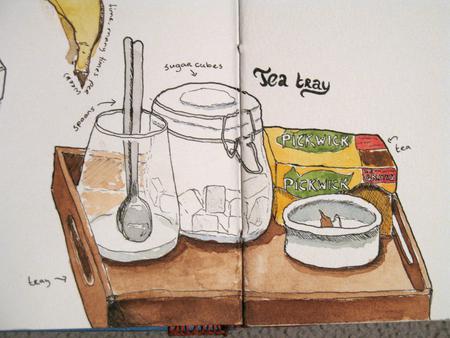
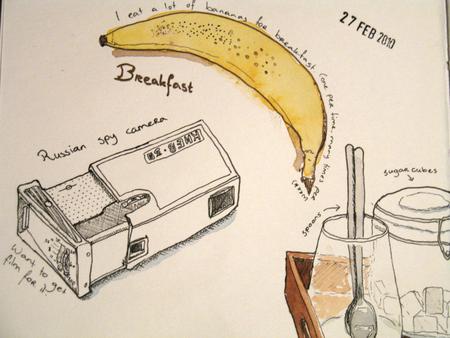
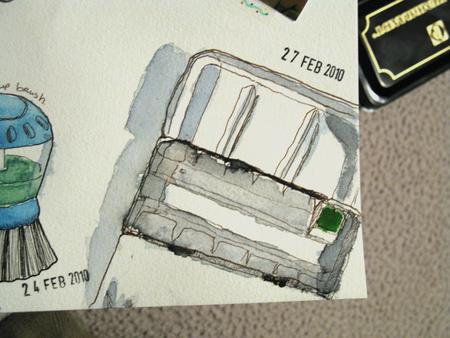
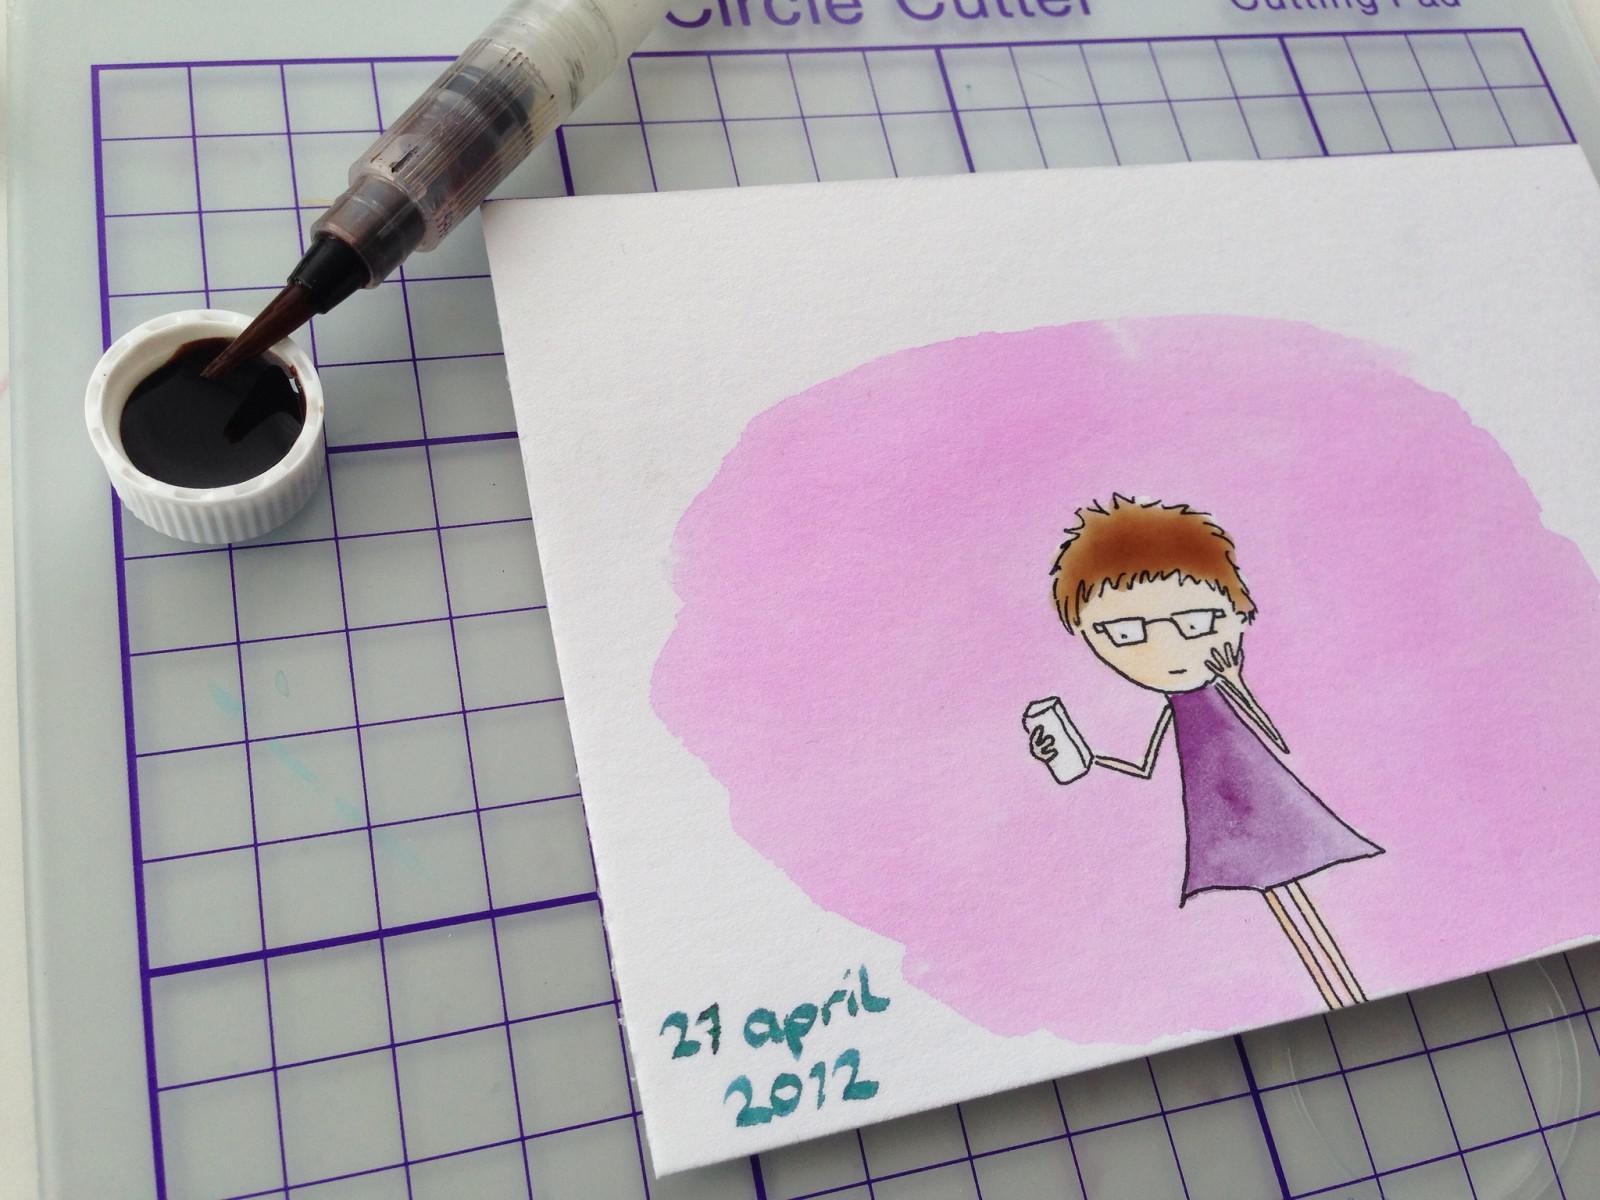
And then I paint. :D

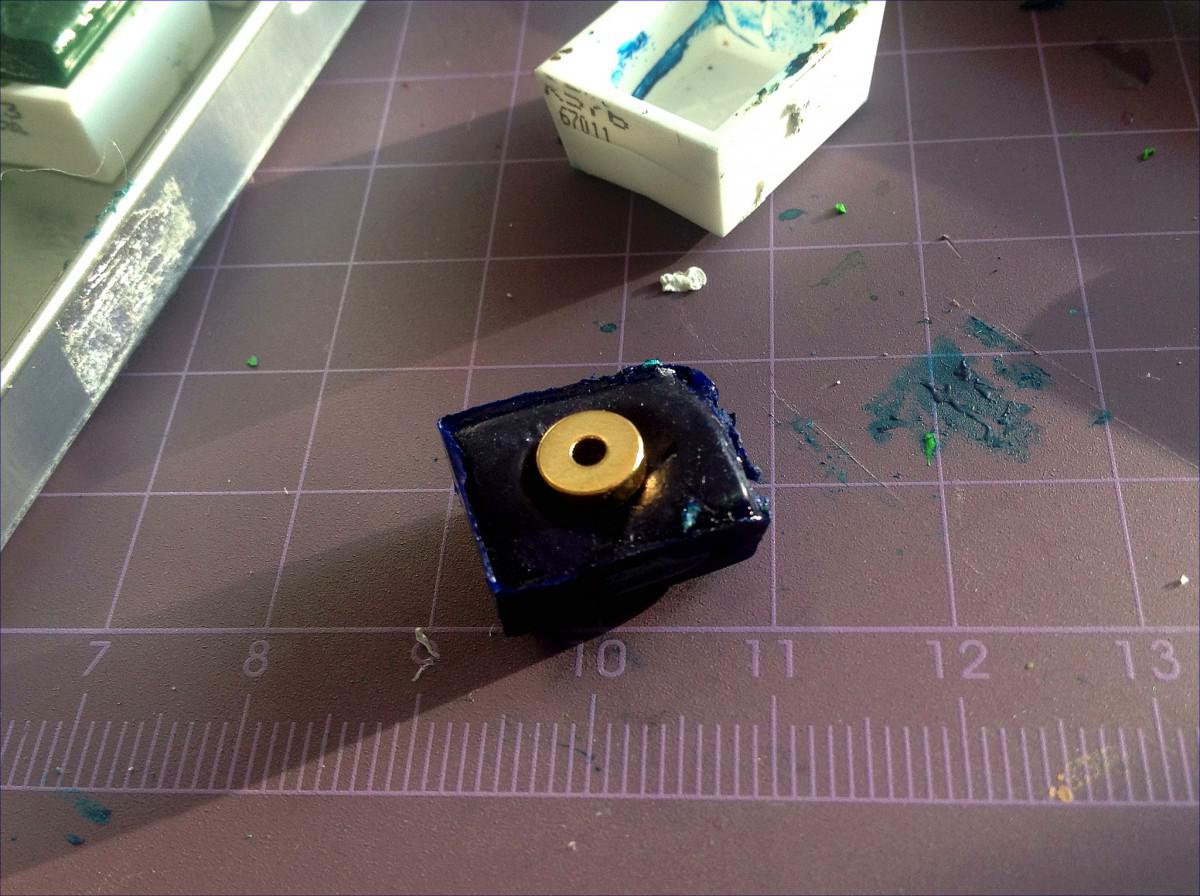
When I don't need it anymore, I discard the contents of the cap, wipe it clean and screw it back. This way, the ink stays clean and I don't feel I waste much of it. Sometimes when a vial almost completely runs out -- because I have in fact put the ink in a pen shocker -- I'll add water to the vial itself and mark it for 'paint'. This doesn't always prevent me putting it in a pen anyway, but hey.


Magnetic paintbox

I like to switch around my paints (a lot) and found it very annoying to do so when I blue-tacked the paint to the paintbox. I like to squeeze in more paints than the official number so I removed the pan-holder from my tiny paintbox to do so.

paintbox paintbox

I decided to try something else: magnets!

I had ordered a set of magnets a few years ago, and some of them I hadn't used yet. After digging them up from the drawer, and finding some empty pans, I started my project.

Requirements

requirements

For this to work you need:

Steps

Step 1

Put magnet inside the empty pan.

I used a small tin to help me keep the pan in place. I put the pan on it and placed the magnet inside, roughly in the middle.

Step 2

fill with paint

Filled up the empty pan with paint, about 3/4 full.

Step 3

Stir wth toothpick

Stirred the paint with a toothpick to get the air-bubbles out and the paint in the corners. I then left it to dry.

Using a filled pan

paintbox

I have plenty of pre-filled pans as well, and my bad habit of creating wells in the middle actually came in really handy. After popping the paint out of the pan – it came out easily with some wiggling of a sharp knife (don't hurt yourself) – I place the magnet in the well and added some water. Then I turned the pan over and pushed it down on the paint. With some colours I had to scrap the edges a bit, due to the shape of the pan (more narrow at the bottom).

Letting it all dry

drying

After adding all the pans, I let them dry in the window overnight. Some dried up a bit wonky, I noticed airbubbles on the side and one of my red-browns looks a bit crumbly. These will all receive some extra treatment to smooth them out, but the basics work :)

It works!

And a little movie to show that it works:


Watercolour tips

Watercolour tips.

I bought some new watercolour paints and have played with them these past few days.

I came up with a few handy tips that have helped me to better understand and work with these colours:

Think CYMK (not RGB) RGB works for light, not paint. Also forget about that red yellow blue colourwheel you got taught in school. It has its flaws. Try making a colourwheel with cyan, yellow and magenta. Nothing wrong with black and white Some people claim that you should make your colours lighter or darker by mixing the correct pigments or amount of water. If you can do those, great! But no shame in using a black or white paint in your palette. Also, do remember that shadows generally don't look that black. You can make shadows look more natural by using a darker version of the colour you used for the rest of the object. Paint dries up lighter Watercolour paint will dry up lighter than you mixed it, usually by 15-30% Experiment with this! Try out your paints when you get new colours or paper Make a new grid with all your colours, mix them up or just splash them around. I got into the habbit of using the last page of new sketchbook to paint little blobs of each of my paints with their name and numbers listed next to it. This gives you a good insight of how the colour will look once the paint dries. Different papers give different results. And so do different brands of paint. Have fun! You should never ever forget to have fun with this. Even if things go wrong, you can learn something from it. Experiment, have fun and enjoy yourself!

Watercolour Raah!

I made Raah! in freestyle watercolour, without first drawing the outlines.

I did use my pen to draw the eyes and mouth though, I couldn't get it to work with paint. [CYMK]: Cyan Yellow Magenta Black [RGB]: Red Green Blue


New art supplies (paint, paintbox, journal)

img img img img img img img img img img img img img img img

[gallery link="file" columns="5"]

I have this thing about art supplies. I get all happy and giddy when walking into an art supply store. I don't necessarily have to buy anything (although I wouldn't mind), just seeing all the colourful paper and the paints, and smell the paper makes me happy. Every once in a while I do like to buy supplies though. Last week I went out to get a tube of China White waterpaint, and I purchased a better paintbox. Back at home I ordered a few things online, including a Derwent Safari Journal, several small canvases (5x5cm and 10x10cm), one Winsor & Newton Artist watercolour half pan (finally checking myself if it's worth it or not) and a small paintbox. The paintbox I accidentally found in that online shop for 1 euro, and it holds 12 half-pans (oh, I finally figured out the difference between half-pans and regular, I have half ones = square, and regular = rectangle).

I like the small paintboxes (I bought several cough), very light and easy to open / close.

I also like the feel of the Derwent journal. The paper feels nice and smooth, but not too smooth (like the Moleskine sketchbook). I've read that it doesn't do to well with classic watercolour, however, I use pen and a watercolour wash mostly and I think it'll do just fine (unlike that Moleskine ;) ). I like how the outside cover feels nice and soft. Now to think of something to draw in it...