Magnetic paintbox
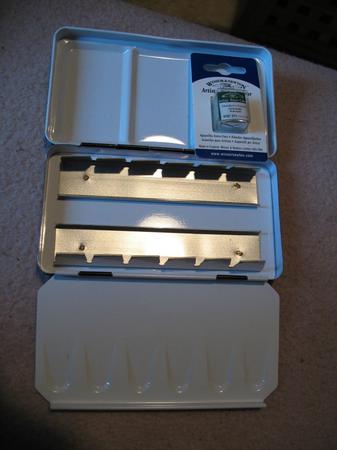
I like to switch around my paints (a lot) and found it very annoying to do so when I blue-tacked the paint to the paintbox. I like to squeeze in more paints than the official number so I removed the pan-holder from my tiny paintbox to do so.
I decided to try something else: magnets!
I had ordered a set of magnets a few years ago, and some of them I hadn't used yet. After digging them up from the drawer, and finding some empty pans, I started my project.
Requirements
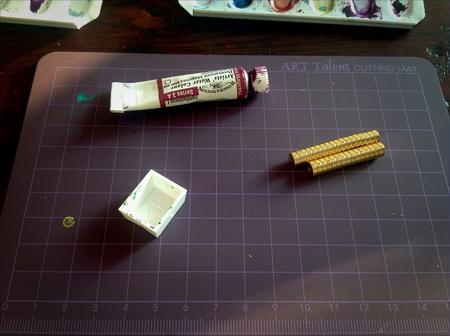
For this to work you need:
- empty paint pans
- tube paint
- magnets (I used small round magnets )
Steps
Step 1
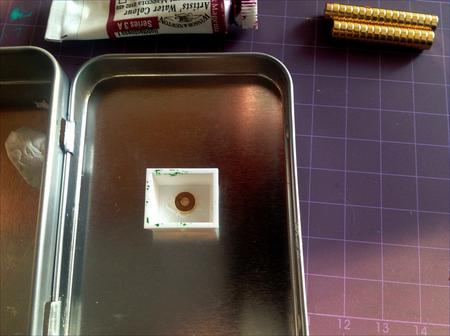
I used a small tin to help me keep the pan in place. I put the pan on it and placed the magnet inside, roughly in the middle.
Step 2
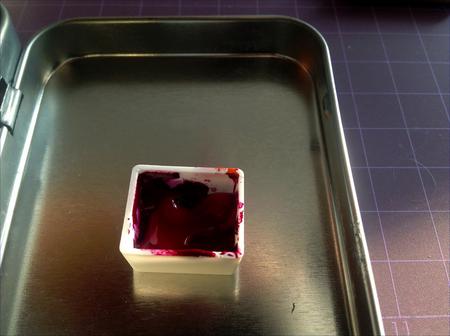
Filled up the empty pan with paint, about 3/4 full.
Step 3
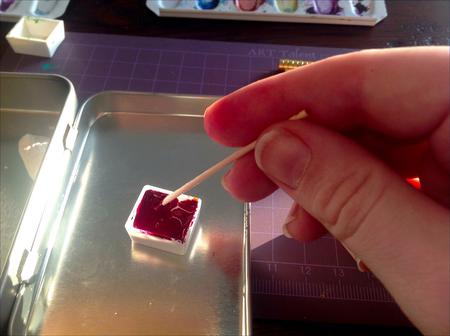
Stirred the paint with a toothpick to get the air-bubbles out and the paint in the corners. I then left it to dry.
Using a filled pan
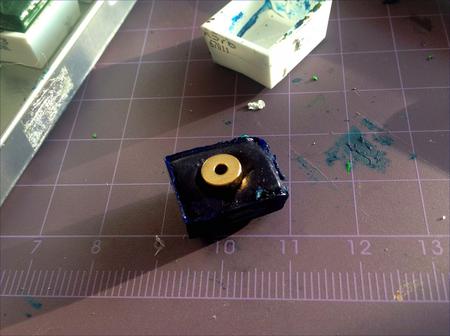
I have plenty of pre-filled pans as well, and my bad habit of creating wells in the middle actually came in really handy. After popping the paint out of the pan – it came out easily with some wiggling of a sharp knife (don't hurt yourself) – I place the magnet in the well and added some water. Then I turned the pan over and pushed it down on the paint. With some colours I had to scrap the edges a bit, due to the shape of the pan (more narrow at the bottom).
Letting it all dry
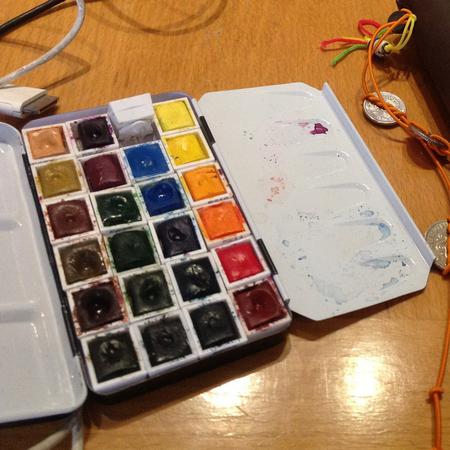
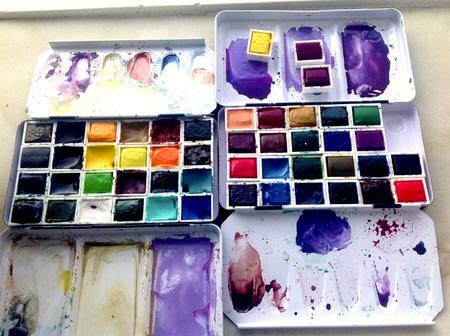
After adding all the pans, I let them dry in the window overnight. Some dried up a bit wonky, I noticed airbubbles on the side and one of my red-browns looks a bit crumbly. These will all receive some extra treatment to smooth them out, but the basics work :)
It works!
And a little movie to show that it works:
Comments powered by Disqus
